I built DevBuddy for my own work and productivity. Here’s how I went from juggling apps, screenshots and repeated prompts to one floating Windows assistant — and how you can build a tool that fits your own workflow.
Before I built DevBuddy, think about how many apps I opened just to get one piece of work done.
I was working across WorkSmarto, development projects, websites and AI tools. My workflow often meant switching between a code editor, browser tabs, folders, screenshot tools, ChatGPT or Claude, and project references. I would capture a screen, find the image, open an AI chat, upload it, explain the issue and then write another carefully worded prompt.
And it wasn’t just screenshots. I was constantly copy-pasting, reusing instructions, trying to remember which prompt worked, and explaining the same preferences about code, design and research. I wanted a prompt booster, a place to retain useful prompts and copied content, and a floating buddy I could reach without searching for another app.
So I asked myself: What if I could bring the small tools I keep reaching for into one place — a desktop assistant built around the way I actually work?
That became DevBuddy. I used AI to help build it, connected Groq for prompt enhancement, and brought the workflow together in a Windows application. I didn’t set out to build a product for everyone. I built the tool I was missing.
01. Meet DevBuddy by WorkSmarto
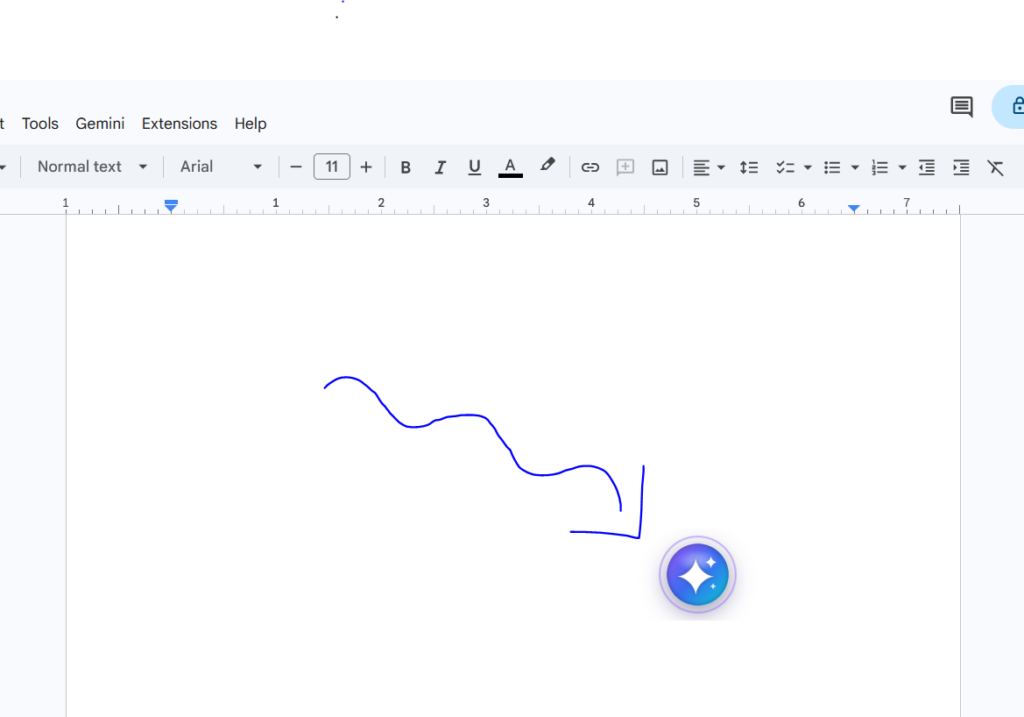
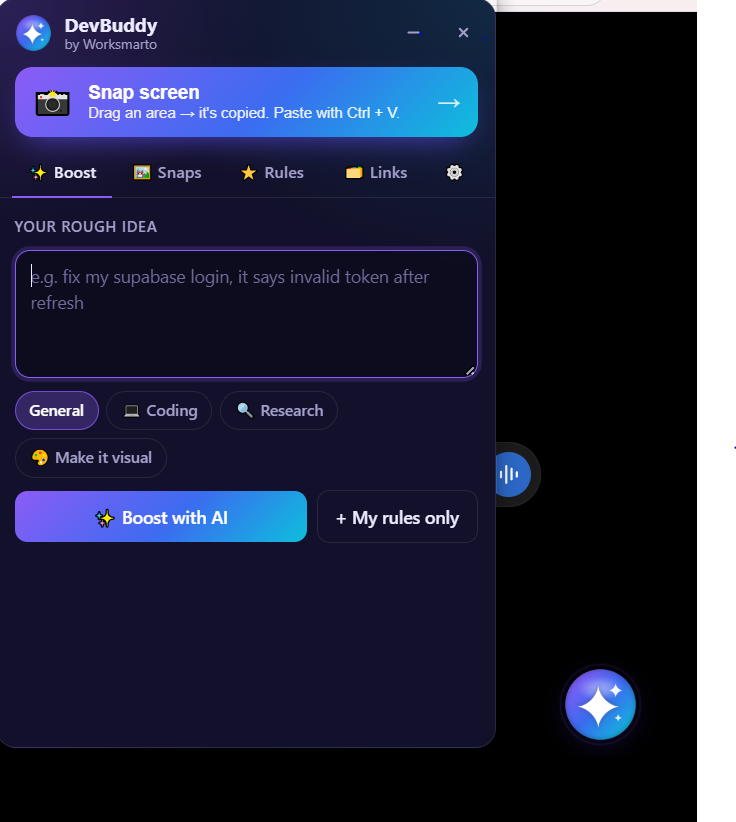
DevBuddy is my personal AI desktop productivity assistant. Its main feature is the floating bubble — the part that saves me the most time.
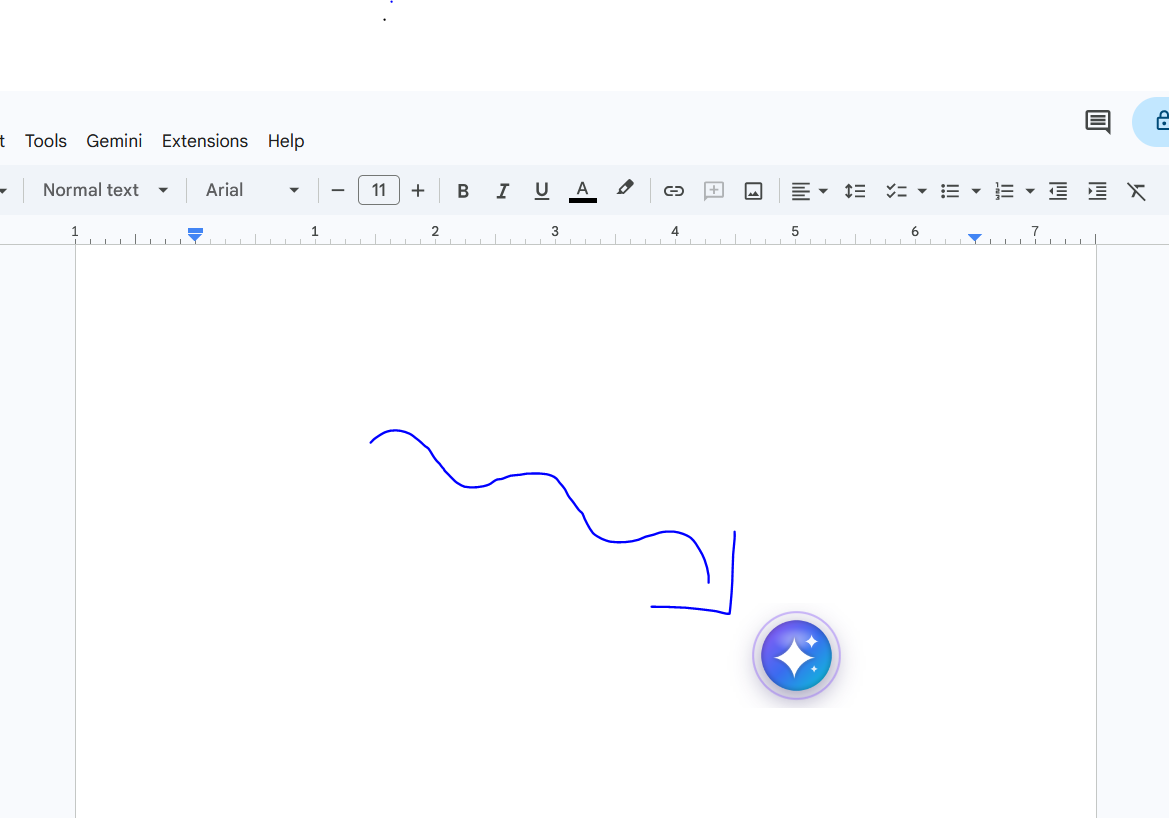
I don’t have to remember which app I left open, search through the Start menu or dig through browser tabs. The bubble stays within reach while I’m coding, researching or working on WorkSmarto. One click brings up the tools I need. That small shortcut removes a surprising amount of friction from my day.
- Boost: Turns a rough idea into a more structured prompt. Modes include General, Coding and Research.
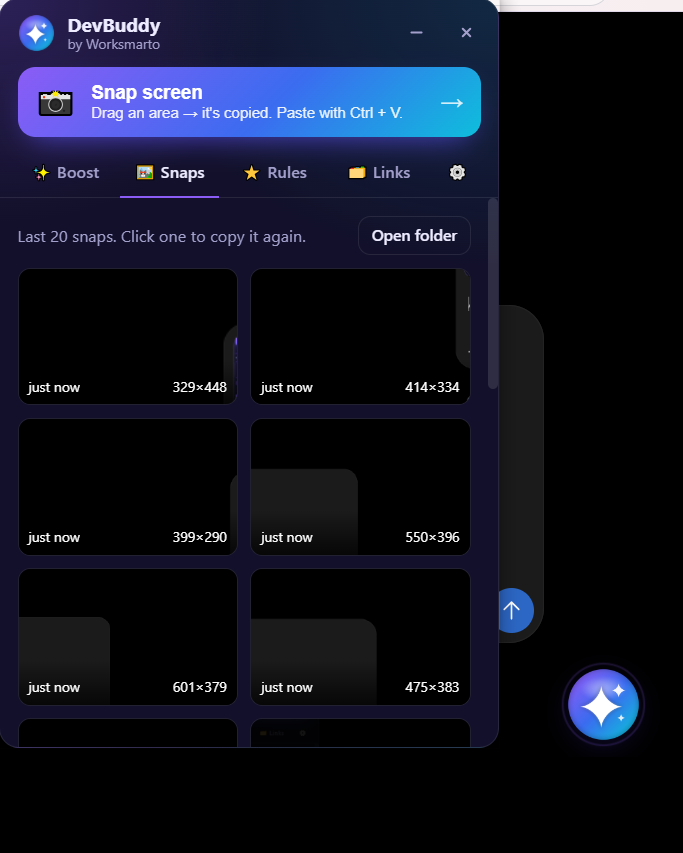
- Snap Screen & Snaps: Capture a screen area, copy it and revisit recent screenshots.
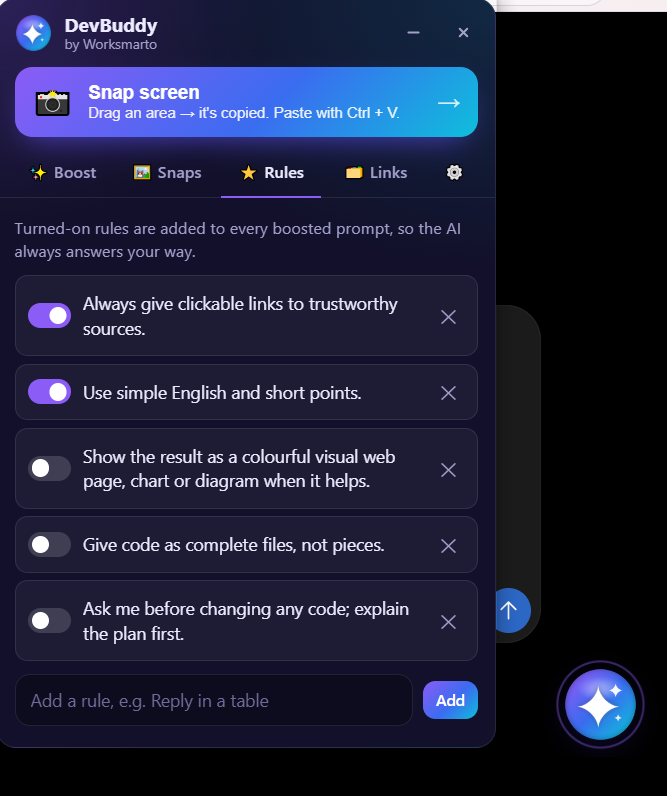
- Rules: Save reusable AI guardrails: simple English, complete code files, preserve working features and explain before major changes.
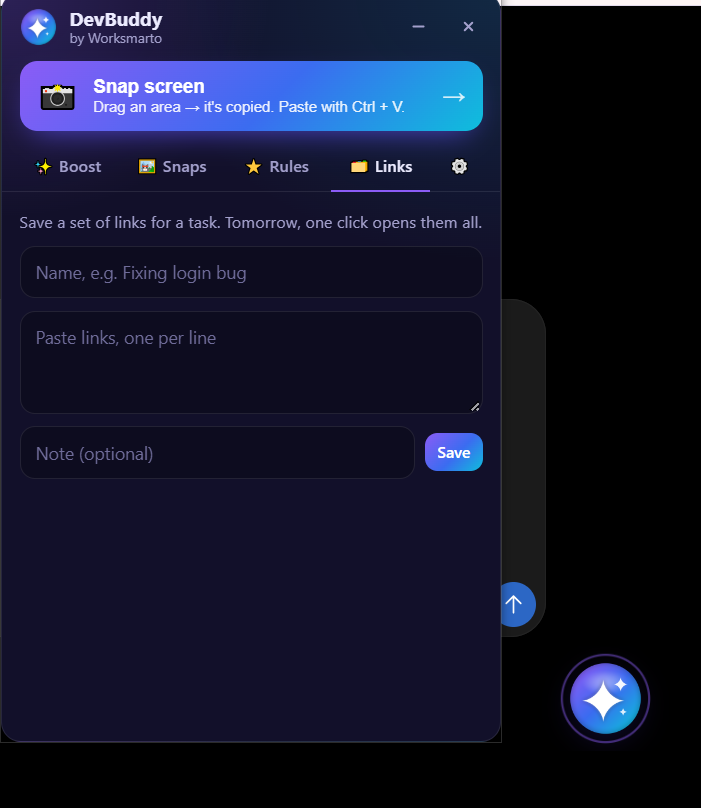
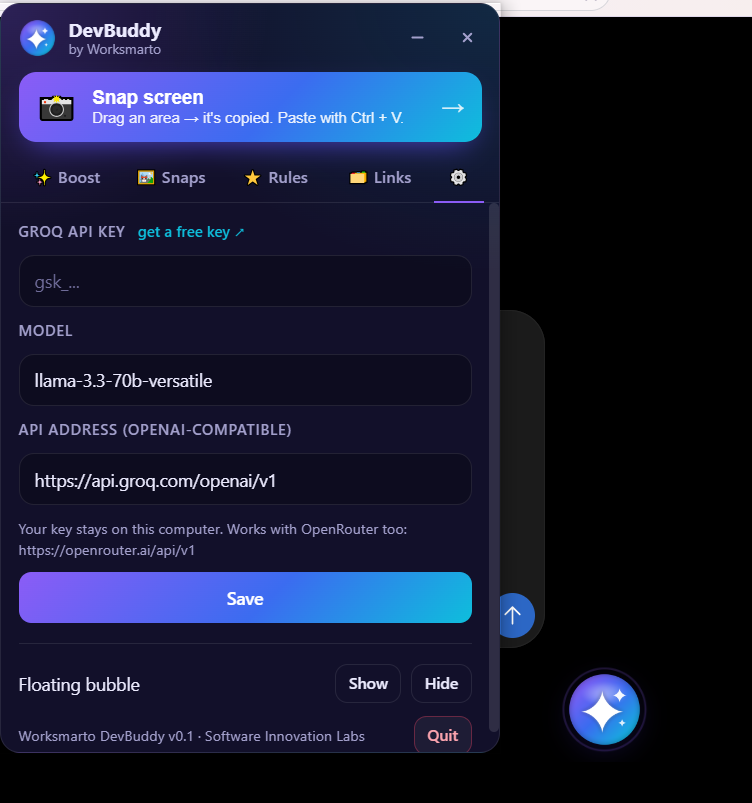
- Links & Settings: Keep task-related URLs together and configure the Groq API connection.
02. Why I wanted a prompt booster
A screenshot shows what is happening, but it doesn’t always explain what I need. If I capture a login error, I don’t want AI to randomly rewrite my authentication flow. I want it to inspect the problem, ask for missing context, explain the likely cause and suggest a careful fix.
That’s why I added reusable rules and want to build a prompt library for screenshot analysis, website debugging, coding, UX/UI, WordPress, deployment and research.
Example guardrail: “Inspect the screenshot and relevant code first. Don’t guess missing details. Preserve existing functionality. Explain the proposed change and provide complete files and testing steps.”
03. How I built it with AI
I used ChatGPT or Claude as AI development partners to help plan the interface, generate and refine code, troubleshoot and shape the features. I connected Groq for prompt enhancement, maintained the source code in GitHub, then used the desktop project’s packaging process to create a Windows application I could install and test locally.
- Start with a real annoyance. Write down the repetitive task and the outcome you want.
- Ask AI to plan before coding. Describe the Windows app, its features, screens and expected behaviour. Ask it to recommend a suitable desktop framework.
- Build one feature at a time. Start with the main window or floating bubble, then add capture, prompt enhancement, rules and saved links.
- Connect an AI API. I used Groq’s OpenAI-compatible endpoint:
https://api.groq.com/openai/v1. Check current model availability in the Groq console. - Test the real workflow. Check the clipboard, screenshot history, saved settings, API responses and behaviour after restarting the app.
- Package and install on Windows. Use the framework’s build tools to generate the appropriate EXE or MSI installer, then test it outside the development environment.
- Keep the project in GitHub. Use the repository for source code and version history. GitHub Actions can automate builds; GitHub itself does not magically turn source code into an installer.
04. A quick look at the actual build
These are screenshots from my DevBuddy application — not concept designs. They show the features I built and the interface I use.
05. What runs locally, and what runs online?
DevBuddy is installed and runs on my Windows computer. Its interface and local productivity features live on the desktop, but the AI response is processed by Groq’s cloud API. So it is a locally installed, cloud-connected assistant — not a fully offline AI application.
For a public release, I’d also need to pay attention to secure API-key storage, privacy, installer signing, updates and clear documentation.
06. Could this go to the Microsoft Store?
Potentially, yes. Microsoft supports Windows desktop apps through Partner Center, including suitable MSIX packages and supported EXE/MSI installer submissions. I haven’t submitted DevBuddy or launched public downloads. For now, it’s my own productivity tool. Store distribution is a possibility to explore after more testing.
Microsoft Windows app publishing guide
07. What I learned
My biggest takeaway: Micro SaaS doesn’t always have to mean a website. A small desktop utility can solve a real problem too. I didn’t start with a subscription plan or a market launch. I started with something that was wasting my time, built a solution and began using it.
- Start with a repetitive problem you personally experience.
- Use AI to accelerate planning and development, but test the code and the finished app yourself.
- Build in small, verifiable steps instead of asking AI to create everything at once.
- Separate the desktop app from the cloud AI service it connects to.
- Use GitHub to manage source code; use the desktop framework’s tooling to package Windows installers.
- Make it useful for yourself before deciding whether to distribute or sell it.
Tools mentioned
- ChatGPT / Claude: AI-assisted planning, coding and troubleshooting.
- Groq: AI API for prompt enhancement.
- GitHub: Source-code management and version history.
- Windows desktop framework: Application build and packaging.
The exact desktop framework and installer format should be confirmed from the project repository before publication.
One more experiment in the 100 Micro SaaS Challenge
I didn’t set out to build a commercial product. I wanted to stop repeating the same steps every day. That small frustration became DevBuddy — a desktop assistant I can actually use in my own work.
Look at your own workflow. Notice which apps you keep opening, what you repeatedly copy and paste, and which tasks interrupt your focus. Then build a small tool around those needs.
Don’t just copy DevBuddy feature for feature. Learn the process, identify your own productivity gaps and build your own desktop buddy.
— Founder, WorkSmarto
Smarter Work. Better Building.
Want to try DevBuddy? I’m still using it myself and refining the experience. Soon, I’ll add a download link here so you can install it and test it on your own Windows computer. If you’d like to give it a try, check back — I’ll share the link when it’s ready.