WHAT WE BUILD TODAY
A useful WordPress chatbot that answers from your approved content—not a flashy chat bubble that makes things up.
Level: Beginner–intermediate Stack: WordPress · Gemini API · backend endpoint
Build a branded AI chatbot for your WordPress website using Google Gemini, a secure backend, and a small knowledge base. This practical guide walks through the architecture, setup decisions, prompts, security checks, troubleshooting and next upgrades—without pretending that an API key alone creates a reliable business assistant.
THE 30-SECOND TAKE
- Build one small, useful chatbot before adding advanced features.
- Keep the Gemini key on the server, never in public browser code.
- Give the bot verified information and make it admit when it does not know.
Read it your way: scan the build card, copy the prompt, then use the test checklist before you launch.
1. Start with the problem, not the chat bubble
A chatbot is useful when it helps a visitor take a clear next step: find a service, understand an article, locate a policy, compare options or contact a person. A decorative chat bubble that gives generic answers adds little value.
For this tutorial, the goal is a small assistant grounded in selected website information. It should answer only when the supplied context supports the answer, link to relevant pages, and say when it does not know. Begin with one narrow use case; expand after testing.
2. Understand the workflow
Visitor asks a question
↓
WordPress chat interface
↓
Your backend validates the request
↓
Relevant knowledge + Gemini API
↓
Answer, references and next action
The browser should talk to your backend, not directly to Gemini with a secret key. The backend can validate input, limit request size, apply rate limits, select the model, handle provider errors and keep credentials private.
3. What you need before starting
- A WordPress site where you can add a small chat interface.
- A Google AI Studio project and Gemini API key.
- A backend endpoint that can make outbound HTTPS requests. A Cloudflare Worker is one possible option; another suitable server-side environment can work too.
- A short, curated knowledge source containing accurate page titles, URLs, summaries, FAQs and business rules.
- A way to test successful responses, invalid input, rate limits and provider errors before inviting real visitors.
Review the official Gemini API getting-started guide and current Gemini API documentation before implementing the provider call. Google’s API surface, model availability, pricing and limits can change.
4. Create and protect your API key
- Open Google AI Studio and create or select a project.
- Open the API key area and create a key for that project.
- Store the key in your backend’s secret or environment-variable settings.
- Make a minimal test request from the backend and confirm that the selected model is available to your project.
- Keep the key out of page HTML, browser JavaScript, public repositories, screenshots and client-side configuration.
If a key has been exposed, revoke or rotate it. Hiding a key in minified JavaScript or a public HTML widget does not make it secret.
5. Choose the API interface and model carefully
For new Gemini projects, check Google’s current recommendation for the API interface. As of the current documentation, Google positions the Interactions API as its preferred interface for new work, while the older generateContent API remains documented for existing integrations and simpler legacy examples. Do not copy an old code sample without confirming that its endpoint, SDK and model ID are still supported.
Choose a model based on actual availability, response quality, latency and your expected usage—not just a tutorial’s claim that a model is free. The Gemini Free Tier may be available for eligible models, but it is subject to quotas and policy terms. Check the current Gemini API pricing information and your project’s usage limits before launch.
6. Design the chat interface in WordPress
The interface can be a compact chat panel with a launcher button, conversation area, input field, send action, loading state and clear error messages. Quick-action buttons can help visitors start with common questions instead of facing a blank input.
- Use your site’s typography, spacing, border radius and brand colours.
- Make the chat usable on narrow mobile screens and with a keyboard.
- Show a loading indicator while a request is in progress.
- Disable repeated submissions while a request is pending.
- Offer a clear retry option when a request fails.
- Explain when a response is AI-generated and provide a human contact route where appropriate.
For WorkSmarto’s visual language, use navy #0D2A59 for headings, orange #FC8D1E for primary actions, sky blue #43B0F1 for interactive accents, pale yellow #FFFAE8 for featured information, and soft blue #F0F7FD for calm content panels. Keep large reading areas light and text contrast strong.
7. Give the assistant useful, bounded knowledge
Do not assume that telling a model to “learn the whole website” creates a reliable, permanent knowledge base. Start by curating the pages that matter most. Store a title, canonical URL, concise summary, verified facts, last-reviewed date and any limitations for each item.
For a small proof of concept, a compact curated knowledge file may be enough. As content grows, retrieve the most relevant passages for each question instead of sending the entire knowledge base on every request. This retrieval pattern is commonly called Retrieval-Augmented Generation (RAG).
8. Use a clear system instruction
A prompt should establish the assistant’s role, evidence boundaries and escalation rules. Adapt this starter instruction to the information your backend actually supplies.
Test this instruction with questions whose answers are present, absent, ambiguous and contradictory in the knowledge source. The model should not confidently fill gaps with guesses.
9. Send page context and useful references
If the visitor is reading a particular article, the frontend can include the current page title and URL with the question. Treat these as context, not as proof that the assistant has read the page. The backend should validate request sizes and avoid trusting arbitrary URLs supplied by a visitor.
{
  "message": "Can you explain this step?",
  "page": {
    "title": "AI Automation for Freelancers",
    "url": "https://example.com/ai-automation/"
  }
}
When the assistant answers from a knowledge item, return the relevant source URL with the response where possible. A reference should support the specific answer, not merely point to a vaguely related page.
10. Connect WordPress to your backend
WordPress needs the presentation layer: the launcher, chat panel, messages, quick actions and input. The backend handles the provider request. You can add the widget through an appropriate WordPress integration or a carefully scoped frontend script; the best placement depends on whether it should appear site-wide or only on selected pages.
Visitor
  ↓
WordPress chat widget
  ↓ HTTPS request
Your backend endpoint
  ↓ authenticated server-side request
Gemini API
  ↓
Validated answer + source links
  ↓
Chat widget
Keep backend URLs configurable. Do not place secret keys in HTML attributes, Elementor widget settings that render publicly, or frontend JavaScript. If the chat is site-wide, load its script efficiently and ensure it does not cover important navigation or consent controls.
11. Test before adding lead capture
Start with a simple answer-and-reference loop. Add lead qualification only after the assistant is reliable. If you later collect contact details, explain why they are requested, ask only for what is needed, and use an appropriate privacy notice and secure storage path.
12. Troubleshooting common errors
401 or 403: authentication or access denied
Check that the backend is reading the intended secret, that the key belongs to the correct project, and that the API and account have access. Do not paste your key into a public issue or debugging screenshot.
404: model or endpoint not found
Verify the exact model ID and API endpoint against the current official documentation. A model name copied from an old tutorial may no longer be available to your project or interface.
429: quota or rate limit
Inspect current usage and rate limits, reduce repeated calls, prevent double submissions and provide a retry strategy with backoff where appropriate. Do not promise a fixed free request allowance unless it has been verified for the selected model and project.
500 or 502: backend or provider failure
Check server logs without exposing secrets, confirm the backend can reach the provider, set sensible timeouts and return a safe error to the browser. Distinguish a provider failure from a bug in your own endpoint.
The chatbot gives generic or incorrect answers
Improve the knowledge source, retrieve relevant content, make the instruction boundaries explicit, and test against known answers. A longer prompt alone will not compensate for missing or inaccurate source information.
13. A practical build plan
Create the API key, store it securely, verify one backend request, and display one answer in a basic chat panel.
Add a curated knowledge source, relevant links, page context, unknown-answer handling and the test checklist.
Only after testing, consider consent-aware lead capture, human handoff, analytics and retrieval over a larger content library.
14. What is free—and what needs checking?
You may be able to prototype using free plans and tools you already have, but the total cost depends on usage, hosting, provider terms and any paid integrations. Free tiers can have limits, and high-volume or business-critical use may require paid capacity.
15. The bigger product opportunity
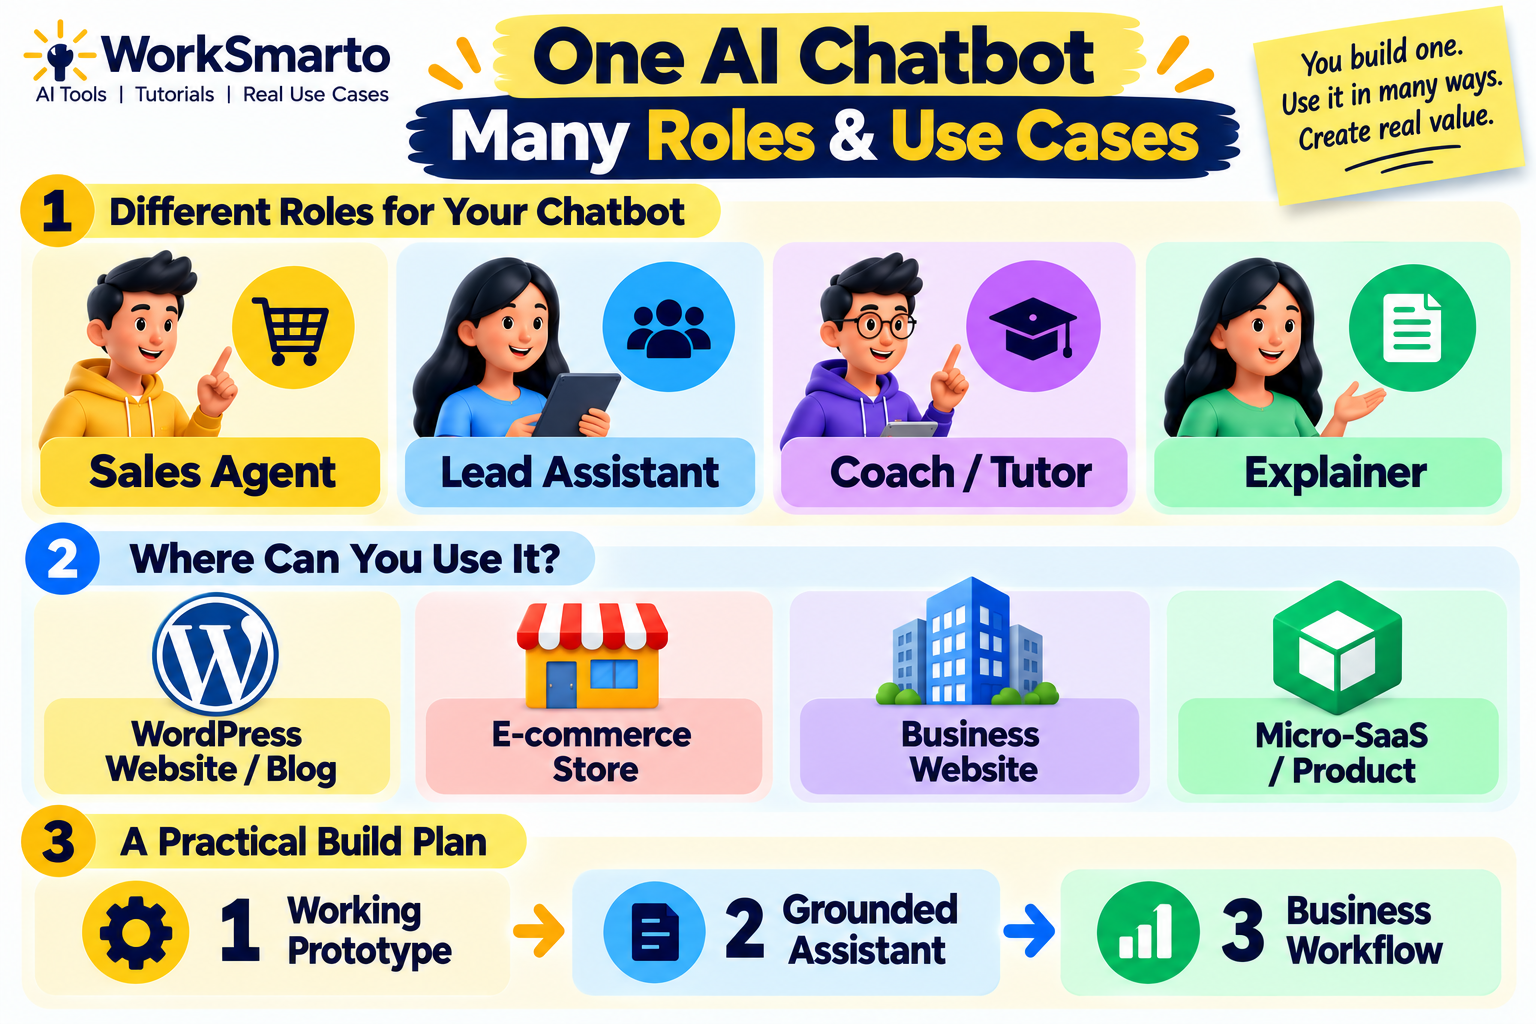
The stronger idea is not simply “a chatbot powered by Gemini.” It is a focused assistant that understands a business’s verified information, helps visitors find the right content, and routes questions to the appropriate next step. That pattern can support service businesses, training providers, ecommerce stores, consultants and software products—but each use case needs its own knowledge boundaries, tests and escalation rules.
For a first version, avoid building every feature at once. Get one real user question working reliably, verify the answer and its reference, and then improve the experience based on observed failures.
WorkSmarto verdict
Worth exploring when: visitors repeatedly ask questions that your website already answers, and you can maintain a reliable knowledge source.
Start small: chat UI → secure backend → Gemini → curated knowledge → source links.
Do not skip: key protection, quota handling, privacy review, unknown-answer behaviour and mobile testing.
Official resources
- Google AI Studio — create and manage API keys.
- Gemini API getting started — current setup guidance.
- Gemini API documentation — interfaces and capabilities.
- Gemini API pricing — current model and usage pricing.
- Cloudflare Workers documentation — backend deployment reference.
Editorial note: model names, API interfaces, pricing, quotas and provider policies change. Verify them against official documentation when implementing the tutorial. This article explains an implementation pattern; it does not claim that a deployed chatbot has been tested or that a particular configuration is guaranteed to work.